What the Walls Are Doing to Your Skin: A Portrait Location Walkthrough
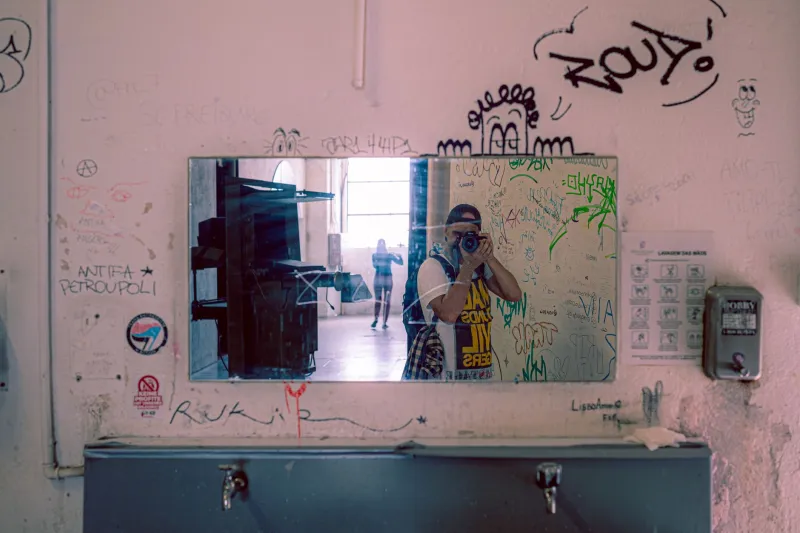
Most location conversations begin with a backdrop: a brick wall, a tidy studio corner, a field at sunset. The better first question is quieter. What is this room already doing to the light, and what is it doing to the people standing in it? Before a strobe fires or a reflector gets unfolded, the walls, windows, floors, and even the parked cars outside are voting on the color of your portrait.
Begin with the paint, not the furniture
A wall is a giant bounce card. A warm cream wall pushes peach into the shadow side of a face. A sage green wall can calm a busy scene, but it can also add a green cast to the underside of a jaw. Cool gray can look clean and modern, then turn fair skin a little icy and deepen the shadows on rich brown skin. None of this means you should avoid color. It means you should look at what the color is doing.
Here is a fast test. Hold a sheet of white printer paper near the subject's face and compare it with the whites in their eyes and shirt. If the paper goes peach, the skin will too. Some warmth is flattering. Too much can make fair skin look flushed and flatten the dimension in olive and brown skin. Check the neck and hands, not just the forehead. Skin is not one color, and neither is the bounce coming off a room.
Window direction beats window size
A huge window is not automatically a great portrait window. Direction matters more than square footage. North-facing glass tends to give soft, steady light through much of the day. South-facing windows can be bright and shifting, which is wonderful until the subject has to squint. East light often feels fresh in the morning and disappears by lunch. West light can turn warm and dramatic late in the day, but at 10 a.m. it may be nothing special.
Treat these as tendencies, not laws. A west window in a shaded courtyard behaves differently from a west window over a hot parking lot. Scout at the actual session hour. If you visit at noon for a 6 p.m. shoot, you have learned almost nothing.
Time of day is a location decision
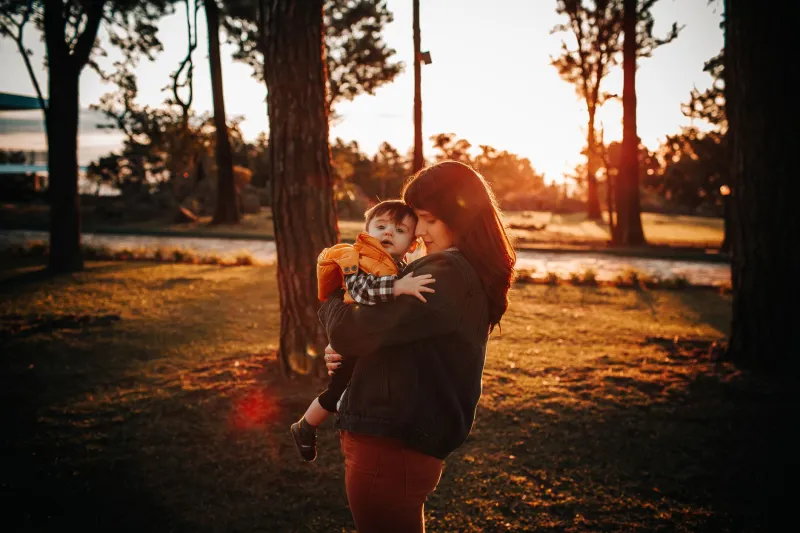
Generic golden-hour advice is easy to give and hard to apply when a family has one free hour after soccer. Instead of chasing a mood, match the schedule to the room. Morning works beautifully with east-facing studios and screened porches. Late afternoon can make west-facing living rooms glow. An overcast day can turn a north-facing wall into a softbox that lasts for hours.
When the sun is high and hard, do not force the subject into it. Find open shade, bounce light back with a white wall or a reflector, and pay attention to what is reflecting from below. A white sidewalk is a free fill light. A red brick patio is a color cast with a schedule.
The surfaces nobody budgets for
Clients choose a location for the furniture and the view. Photographers need to read the whole room. Hardwood floors bounce warm tones upward. Dark carpet eats light and can make eyes look flat. Low white ceilings spread fill; dark ceilings swallow it. A glossy conference table can throw a strange highlight under a chin. A cluster of plants near a window can tint the shadow side of a face.
Then there is the world outside the window: awnings, brick buildings, delivery trucks, pool water, and painted fences. Move two feet in any direction and the color may change. Move the subject four feet away from a colored wall and the bounce may disappear. Clothing counts too. A bright yellow shirt next to a cheek is a small, movable wall.
A scout checklist for photographers
- Bring a white card or a sheet of paper. Use it to read the color of the light and the bounce.
- Photograph a hand or a face in each candidate spot. Your eyes adjust; your camera does not.
- Check the color of the highlights and the shadows separately.
- Note the window direction and the time you plan to shoot.
- Test two or three subject positions, not just one.
- Look for mixed light: overhead bulbs plus daylight, phone screens, exit signs, and open doorways.
- Identify a neutral fallback wall in case the light shifts or the room gets busy.
How to explain this to clients
Clients do not need a lecture on color temperature. They need a simple way to choose. Ask them to send phone photos of the room at the time of day they want to shoot, with the curtains open and the overhead lights on, then again with the overheads off. Ask what colors they love and what colors make them feel washed out. Ask whether they want the room to feel cozy, clean, moody, or bright.
For group portraits, look for a neutral zone that works for every skin tone in the frame. A strong colored wall can be gorgeous for one person and unkind to another. A soft white or warm gray wall, a shaded porch, or a patch of open shade often gives everyone a fair start. Wardrobe can help too. Bring a neutral layer that can be added or removed if the room starts throwing color.
If the room will not cooperate
You can neutralize a lot without rebuilding the room. Move the subject away from the colored wall. Turn off mixed overhead lights. Use a white foam core or a white sheet to bounce cleaner light. Flag a hot window with a dark cloth. Set white balance deliberately and check skin, not just the background. And know when to step outside.
The best portrait location is not the prettiest room on the tour. It is the one whose light and color are doing something useful for the people in front of the camera. Read the room first. The rest of the session gets easier.